


Crimping connectors: the common mistakes
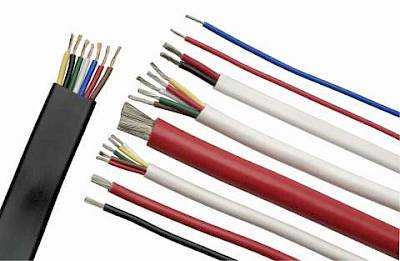
When wiring devices on our boat, one of the tasks we perform frequently is crimping small sized wires - between 24 and 10 AWG. Crimping connectors can be used to join two wires or connect a wire to a screw terminal strip. First, we start by removing some of the plastic insulation on the wire. It is very important to have no insulation between the wire and the metal sleeve of the terminal. Otherwise, this poor connection could cause undesirable voltage drops that cause the attached device to not work properly, which can take a while to troubleshoot. Small size wire crimps have a plastic cover with a wider section for the insulation and a noticeably narrower metal channel where there should only be metal wire. Ensure the insulation stops here. Also check that the bare wire end is long enough to extend to the end of the crimp. This will ensure that a good connection is made.
Once you have crimped the connection, it is a good idea to check if you did it properly by tugging the two sides apart, as a good crimp is supposed to resist heavy and continuous strains. If you pull it apart by hand, it was either not crimped properly or the connector used was too big.
The final step is the most commonly omitted. The bare wire at each end of the connector sleeve must always be sealed with heat shrink. The moist and salty marine environment may corrode the wire if it is not sealed; especially if it is untinned. Untinned wires are a copper colour, whereas tinned wires are more silver in colour. Some connectors, like the ones we use, have adhesive-lined heat shrink nylon on them already, which can be shrunk with a torch. If the shrinking is performed correctly, a tiny bit of glue protrudes from the tube, sealing the connection.
As every boater knows, the list of work to do on a boat never ends. So why waste time re-doing the work in 5 years when it could be done right the first time?
Related Content


![]()
Copyright © 2024 Pacific Yacht Systems.